
Last updated November 15, 2026
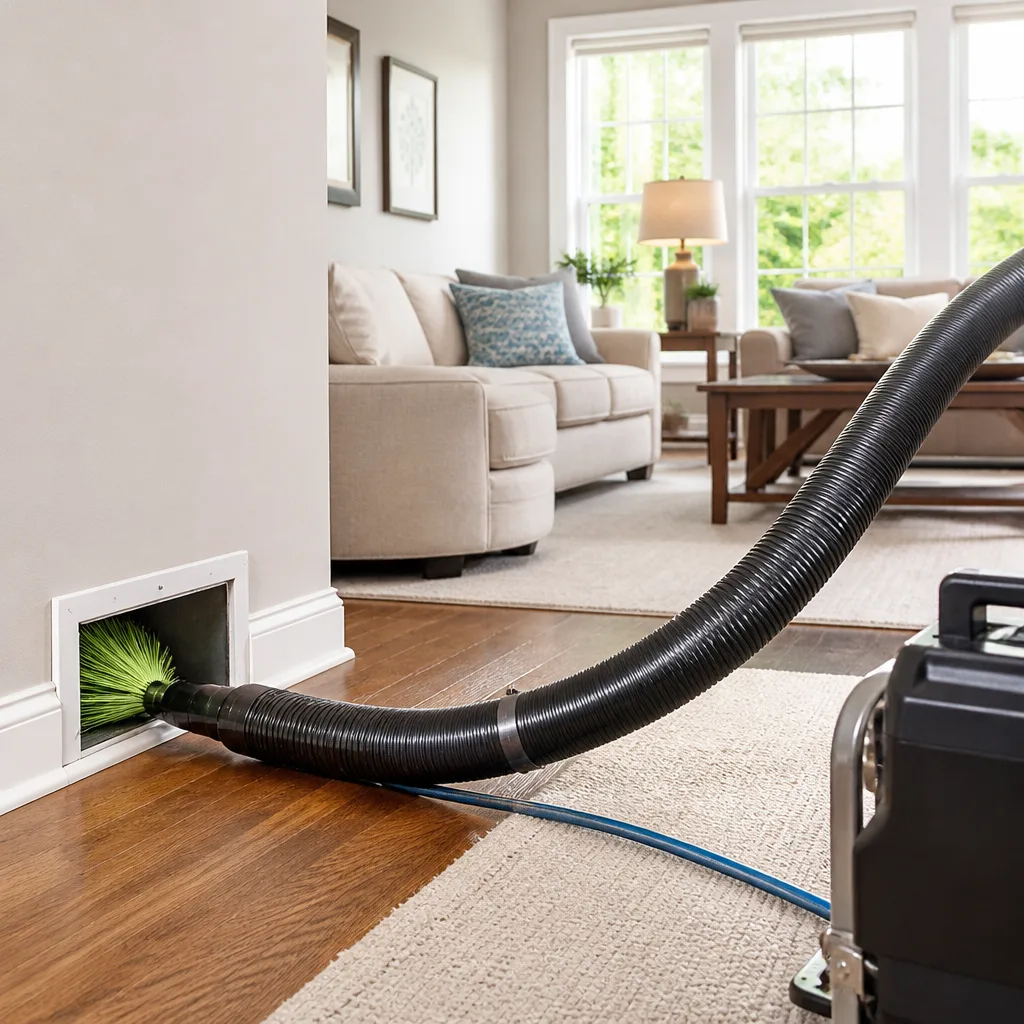 Whole-home duct cleaning
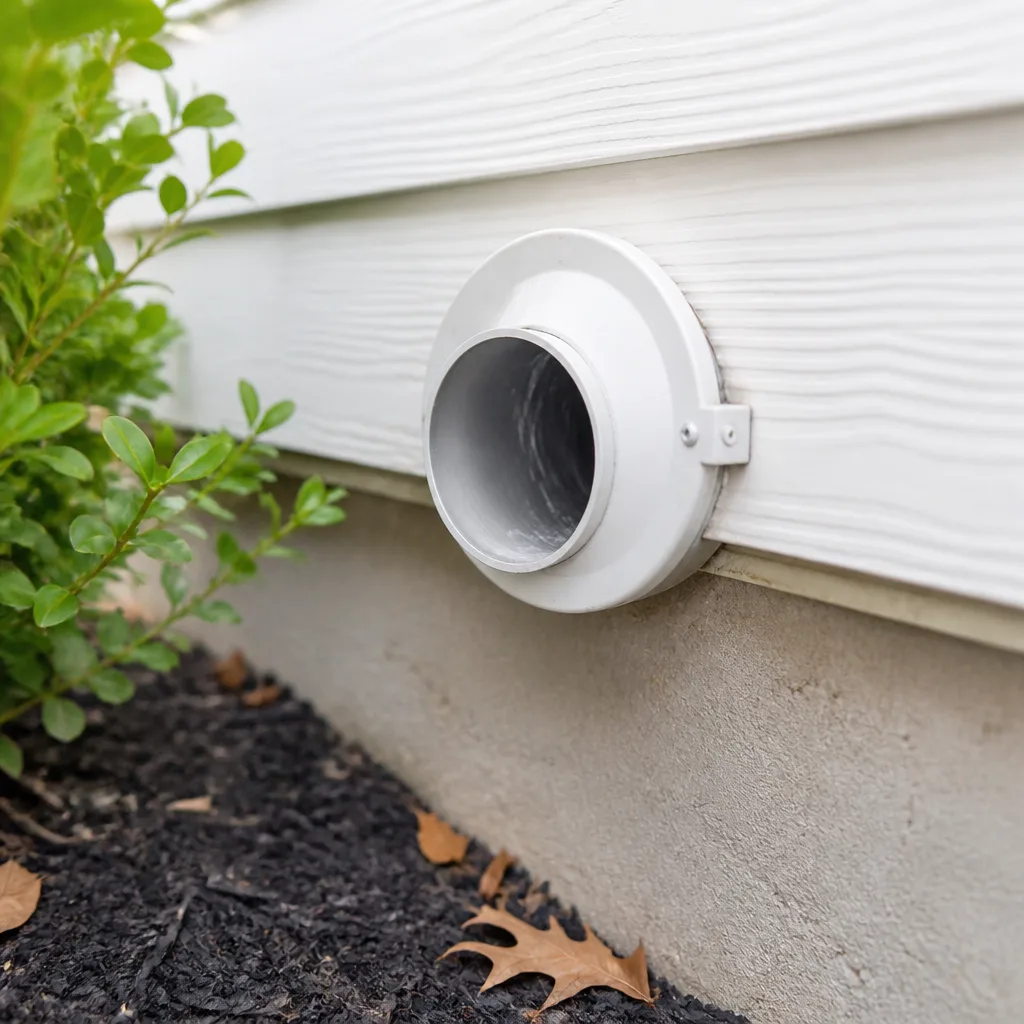 Dryer vent cleaning
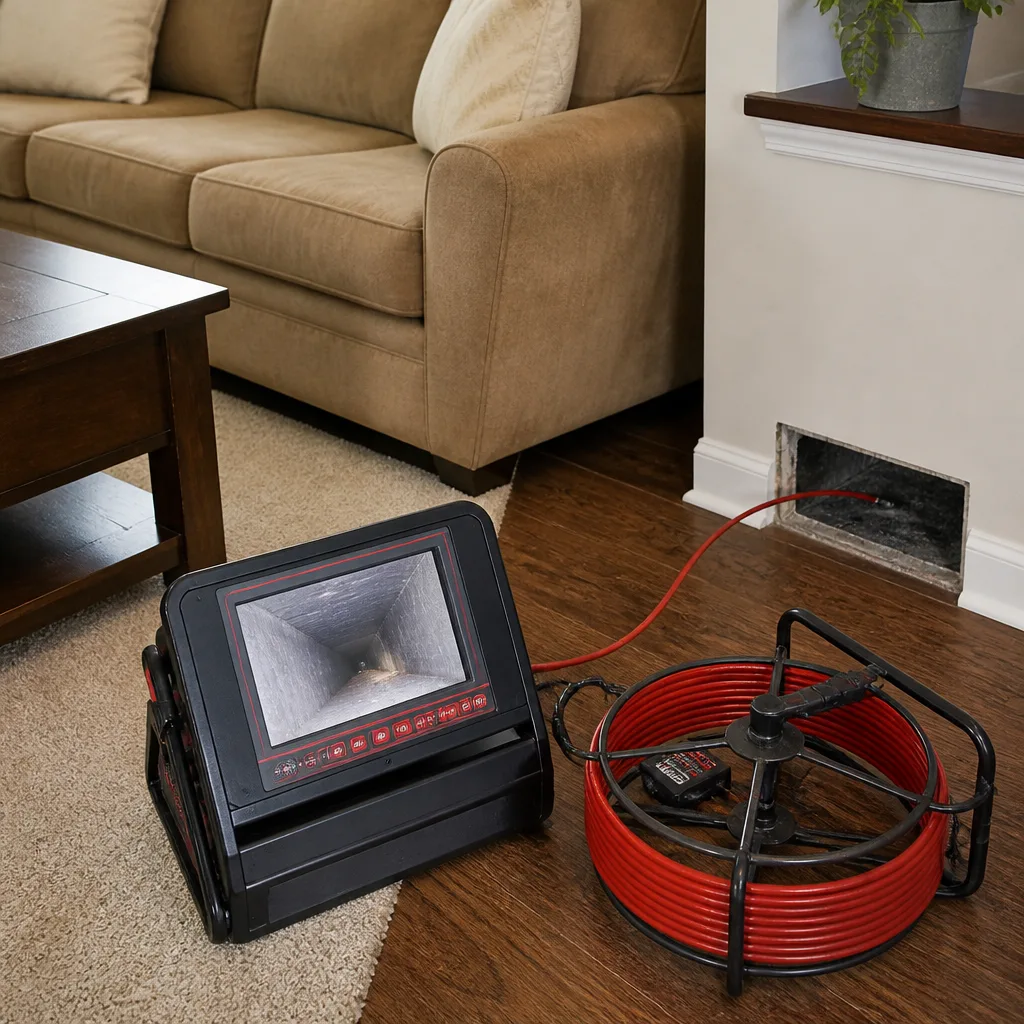 Camera inspection
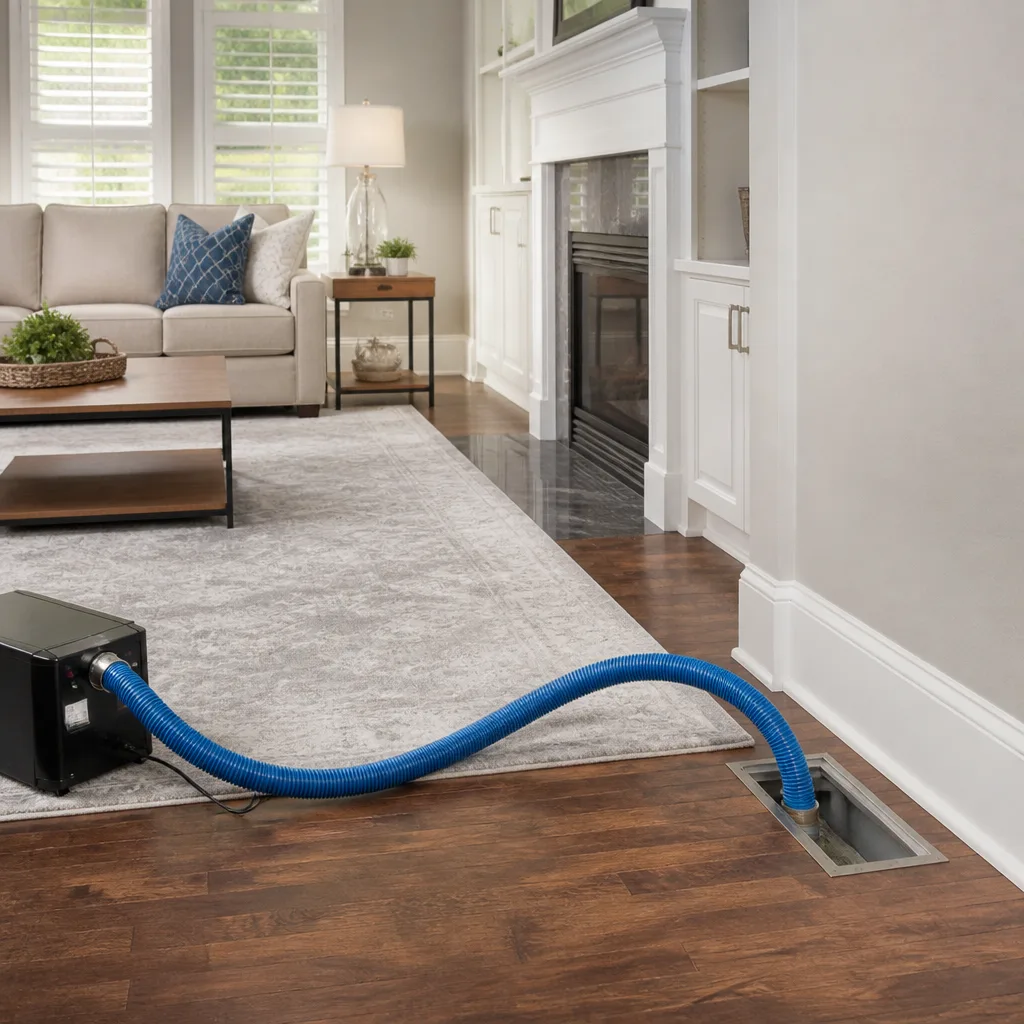 Sanitizing & deodorizing
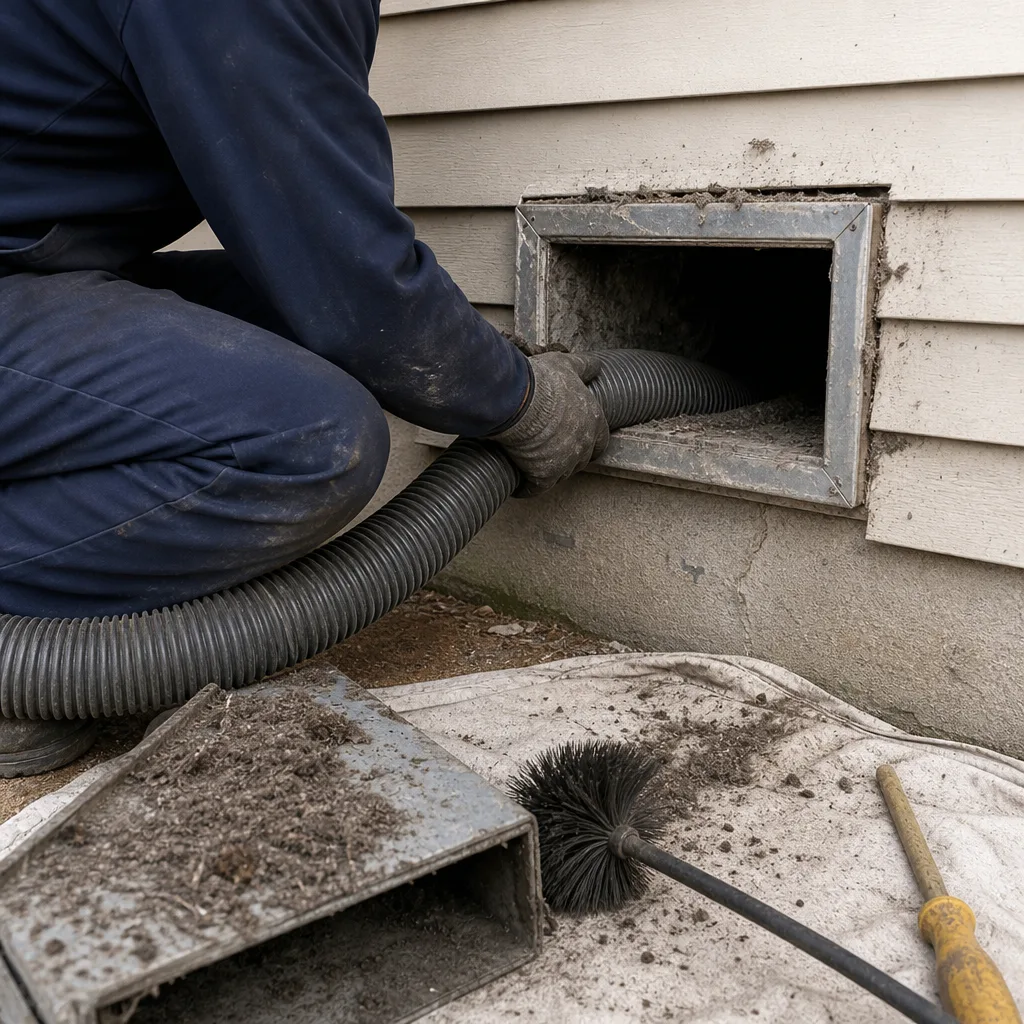
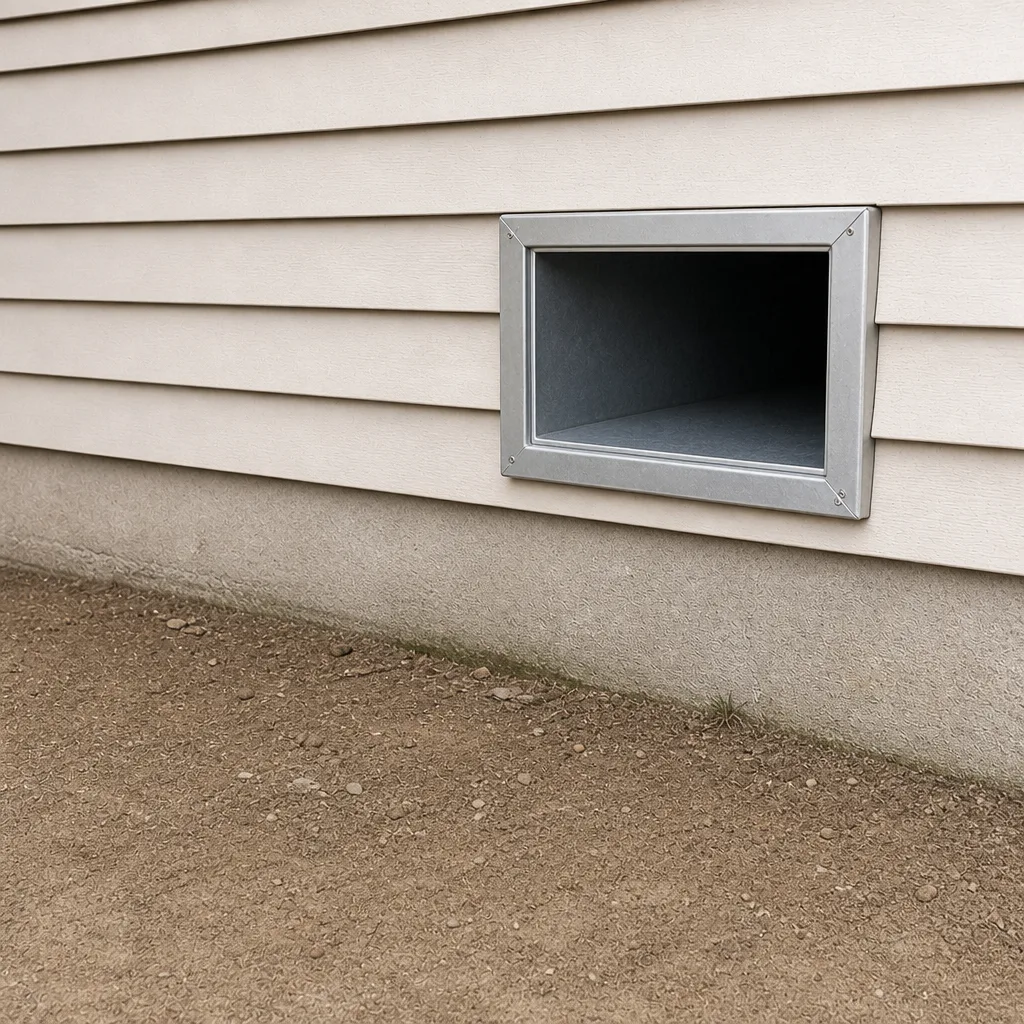
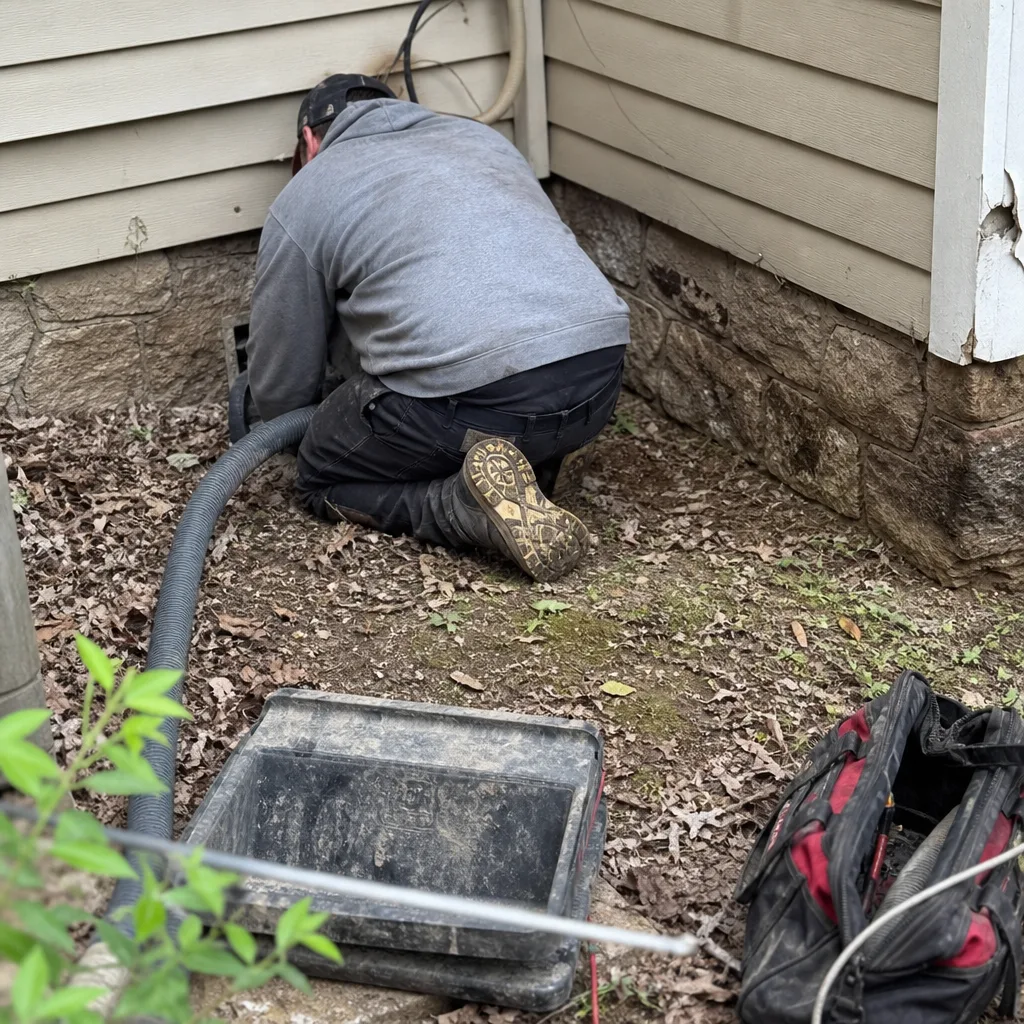
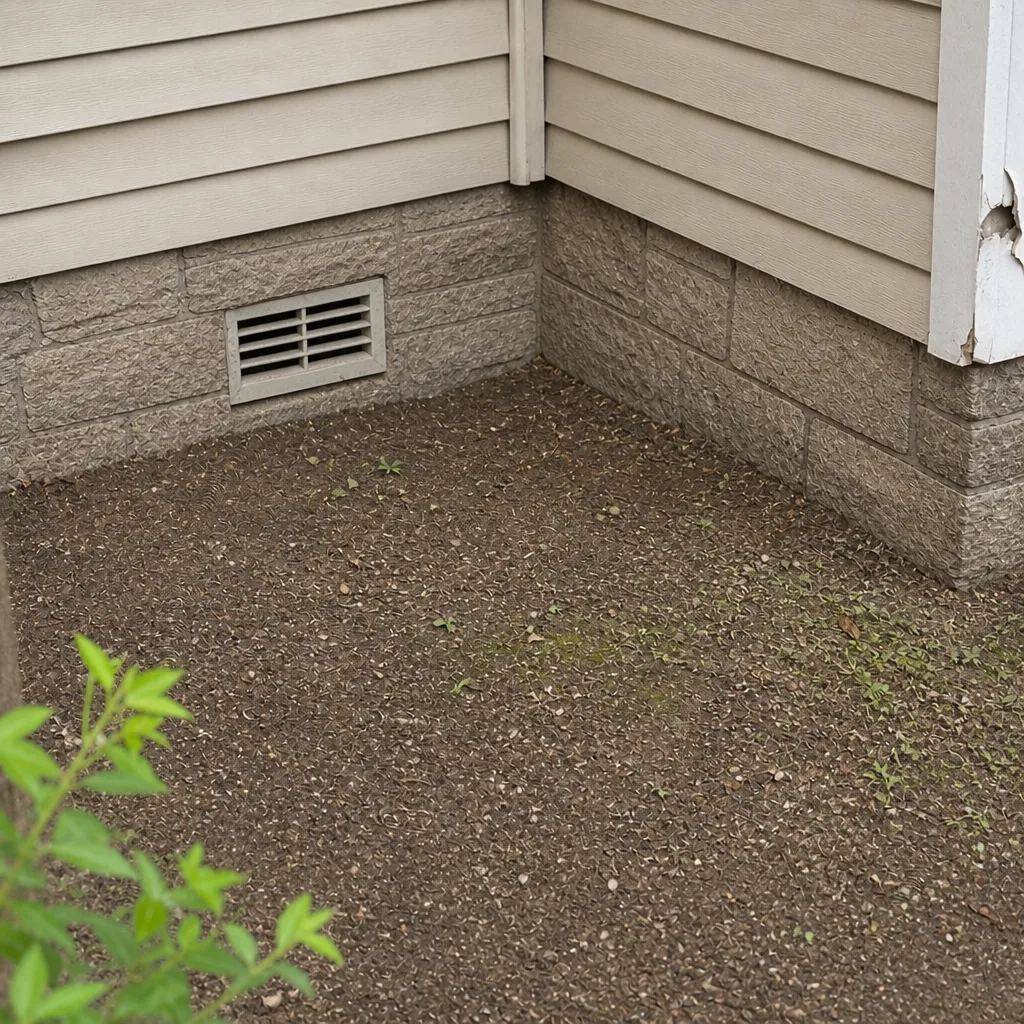
Whole-system duct and dryer vent check with before-and-after photos - you see exactly what came out of your vents
That "$99 whole-house special" is a bait ad - the real number appears once they are in your hallway, or the "clean" is a shop-vac at the register. We photograph the inside of your ducts before and after instead.
DIY vs Professional Air Duct Cleaning: The Clarksville Homeowner’s Decision Guide
Most homeowners assume the gap between a rented duct-cleaning kit and a professional service comes down to skill or muscle. It doesn’t. It comes down to airflow. The best consumer duct cleaning kit you can buy or rent generates roughly 90 CFM of air movement. A professional truck-mount system runs 4,000 to 6,000 CFM. That’s not a difference in technique. That’s an engineering gap no amount of scrubbing can close, because duct cleaning isn’t a scrubbing job in the first place – it’s a physics job. In this guide we’ll walk through what actually moves debris out of a duct system, what a homeowner can legitimately handle on their own, which DIY attempts make a professional job harder and costlier, and how to decide which path fits your situation in Clarksville.
Quick Answer
For most Clarksville homeowners, professional air duct cleaning is the right call when the problem is performance-based – weak airflow, visible debris blowing from registers, allergy symptoms that spike indoors, or ductwork that hasn’t been cleaned in years. DIY is fine for cosmetic tasks like wiping grilles and vacuuming lint from an exterior dryer vent cap. The dividing line is airflow: consumer tools move roughly 90 CFM while professional systems move 4,000 to 6,000 CFM, and no consumer product closes that gap.
Styles & brands we work with
- Whole-home duct cleaning
- Dryer vent cleaning
- Camera inspection
- Sanitizing & deodorizing
Table of Contents
- The Physics of Duct Cleaning: Why Airflow Does the Work
- The CFM Gap: What 90 vs 4,000 Actually Means
- What Homeowners Can Legitimately DIY Without Risk
- DIY Attempts That Make Professional Cleaning Harder and More Expensive
- The Clarksville Attic Problem: Heat Before Cleaning
- Negative Pressure, HEPA Containment, and Why It Matters
- A Decision Framework: Cosmetic vs Performance
- When Cleaning Uncovers a Repair Problem
The Physics of Duct Cleaning: Why Airflow Does the Work
Duct cleaning works on a principle borrowed from industrial ventilation: you don’t push debris out, you pull it out. A rotating brush or air whip loosens material from duct walls and deposits it into a moving airstream. That airstream has to be fast enough and voluminous enough to keep the particles suspended all the way to a collection point – usually a HEPA-filtered negative-pressure machine set up at the main trunk return or at a temporary access cut. If the airflow drops below a threshold, dust settles back on the duct wall before it ever reaches the filter.
There are three variables that determine whether a particle leaves the system or drops out of suspension:
- Velocity. Air has to move fast enough past the particle to overcome its weight. Slow air deposits debris; fast air carries it.
- Volume (CFM). Cubic feet per minute determines how much of the duct cross-section is actually being swept. A narrow nozzle at high velocity but low volume passes through a wide trunk without moving the dust on the far wall.
- Containment. Whatever is loosened has to go into a sealed filter, not into living space. Without negative pressure in the system, loosened debris redistributes through the house instead of out of it.
In a typical residential system, branch runs are 6 to 8 inches in diameter and trunk lines run larger. Moving material through that geometry requires sustained high-volume flow. Consumer equipment can generate velocity at the nozzle head, but it can’t sustain volume through a full run. The result is that scrubbing motion puts dust into the air inside the duct but doesn’t pull it out – which is worse than leaving it undisturbed, because airborne particles inside the duct then settle into registers and get pushed into rooms when the blower kicks on.
Professional setups solve this by combining a high-CFM vacuum with a powered agitation tool, usually a Rotobrush or Nikro system, and running them in sync so loosened material is captured in real time. The equipment does the transport work. The technician’s job is to reach every run, not to scrub harder. Our technicians have up to 13 years of experience with this equipment, which is why we talk about airflow instead of “deep scrubbing” – it’s the more accurate description of what actually happens.
The CFM Gap: What 90 vs 4,000 Actually Means
If you want to understand why the DIY vs professional question has a clear answer for performance problems, look at the numbers side by side.
- Consumer kit (shop vac conversion or rental unit): roughly 90 CFM, no HEPA containment on most units, brush kits on a flexible rod, no negative-pressure sealing.
- Professional truck-mount system: 4,000 to 6,000 CFM, dedicated HEPA filtration, sealed negative-pressure connection at the trunk or return, powered agitation with rotor or air whip tools.
The ratio is roughly 45 to 1 at the low end. To put that in context: to move the same volume of air as one hour of professional work, a consumer unit would need to run for days, and it still wouldn’t match the containment. Meanwhile, every hour the consumer unit runs is an hour of redistributed dust because there’s no sealed filter capturing what’s loosened.
There’s a second problem too. Consumer brush kits are typically rods with a stiff bristle head that you feed into a register by hand. That works on a short, straight flex run. It doesn’t work on a trunk line, a transition, an elbow, or a run with multiple takeoffs. The technician’s equipment includes different heads for different duct profiles and internal camera inspection so they can confirm what’s happening inside a run. You don’t get that with a 12-foot rod and a stiff brush.
Why velocity alone doesn’t solve it
A common misconception is that a small nozzle at high velocity can do the job because the air is moving fast. What matters in a duct is the velocity at the particles’ location across the full cross-section. A narrow nozzle at the end of a rod passes through the center of the duct and never touches the boundary layer along the walls, where the dust actually accumulates. Professional systems achieve high velocity with high volume simultaneously by moving whole-system air and sealing the ductwork to a dedicated vacuum.
What Homeowners Can Legitimately DIY Without Risk
None of this is to say there’s nothing a homeowner should or can do. Several routine tasks are genuinely safe, genuinely effective, and don’t require professional equipment. We tell people to handle these themselves – it keeps the systems cleaner between cleanings and it saves you the cost of a service call for something simple.
- Register and return grille cleaning. Pop the cover off, wash it in a sink with mild soap, dry it fully, and reinstall. This is the single highest-value cosmetic task and it’s genuinely effective. Do it whenever you see dust buildup on the face of the grilles, typically every few months.
- Accessible flex duct visual inspection. Where flex duct is exposed (basement, mechanical closet, short attic runs), you can look along the exterior for crushed sections, disconnected joints, or torn insulation. You’re inspecting, not disconnecting. If you see damage, that’s a repair call – not a cleaning call.
- Exterior dryer vent cap lint removal. Reach the outside termination cap and pull lint off the flapper and the surrounding screen. This is safe and important. Do it roughly every few months, and always do it before you call for a dryer vent cleaning so you know what the outside cap looks like.
- Filter changes. A clean filter is the front line of duct cleanliness. Change it on the schedule the manufacturer specifies, not on a vague yearly habit. A clogged filter strains the blower and lowers airflow through the whole system.
- Supply register dusting and furniture placement. Keep furniture, rugs, and curtains clear of supply registers so air actually circulates. This is trivial but it matters more than people expect.
What ties these together is that none of them require reaching into ductwork or moving air volume through a sealed system. They’re all surface-level or exterior tasks. The minute a task requires getting a tool inside a duct and pulling air through it, the DIY path stops being safe and starts being counterproductive – and in a few specific cases, actively damaging.
If you have a Honeywell or Aprilaire whole-home filtration system, checking and replacing those media filters is also a homeowner task. Familiarity with those systems matters for airflow; a clogged Aprilaire media cabinet or a saturated Honeywell filter cuts airflow through the entire return run and makes duct condition worse.
DIY Attempts That Make Professional Cleaning Harder and More Expensive
The failure mode of DIY duct cleaning isn’t just that it doesn’t work. In several specific cases, it makes the professional job measurably harder. When we walk into a home after a homeowner has already tried the rod-and-shop-vac route, the assessment has to account for what the attempt already did inside the system.
- Pushing debris further into trunk lines. A brush fed from a supply register pushes loosened dust deeper into the branch and into the main trunk where it can settle at low points and transitions. What was a straightforward surface clean becomes a full-system extraction job because material that was reachable is now in a harder location.
- Puncturing flex duct liner. Consumer brush kits use stiff nylon bristles on a semi-rigid rod. Inside a flex duct with a thin interior liner, one over-aggressive pass can tear the liner or tear the outer jacket at a joint. The result is a repair on top of a cleaning – and a hole in a duct means the whole system loses pressure and efficiency until it’s fixed.
- Disturbing mold without containment. If there’s visible growth inside a duct and a homeowner scrubs it without HEPA containment and negative pressure, spores get distributed into the living space. That’s the exact opposite of what air quality work should do. Any suspected growth is a professional containment job, hands down.
- Disconnecting duct joints to “get at” a run. Refitting a flex or sheet-metal joint to a factory-tight seal is harder than it looks. Most homeowner re-connections leak, and every leak degrades airflow for the rest of the system.
- Using a shop vac as a “duct vacuum.” A shop vac exhausts into the room. Vacuuming a duct with one redistributes what you pull out straight back into the air you’re standing in. The right tool pulls air into a sealed HEPA filter, not out into the room.
None of these are judgments on the homeowner. They’re just the predictable result of using equipment designed for one task (shop cleanup) on a job that requires a completely different airflow profile (whole-system extraction). We’ve seen all of them, and the fix is always the same: assessment first, then a plan that accounts for what’s already inside the system.
The Clarksville Attic Problem: Heat Before Cleaning
Duct cleaning has an access problem that most DIY advice completely ignores: where the ducts actually are. In Clarksville, most ductwork for a single-family home runs through the attic. And Clarksville attics in July get brutally hot. On a typical summer afternoon the attic heat index can exceed 140°F. That’s not an exaggeration – attic temperatures commonly run 40 to 60 degrees above outdoor air temp on a sunny afternoon, and Clarksville regularly sits in the 90s through July and August.
Now consider what DIY attic duct work actually involves:
- Climbing through a scuttle into a low-clearance, unventilated space.
- Crawling to each duct run, often across joists with insulation batts and nails.
- Working for extended periods in temperatures well above human safe working limits.
- Handling equipment while dehydrated and heat-stressed.
Heat injury is a real risk in that sequence, and it’s independent of the cleaning itself. Even if the technique were perfect, spending an hour or more inside a Clarksville attic in July is a genuine safety problem. Heat exhaustion can progress quickly, and disorientation from heat in a confined attic space is dangerous. Professional crews work in that environment with the right precautions – timing, water, work rotation, and short cycles – precisely because exposure is the hard part.
That’s before we get to the practical issues of doing duct work in an attic: many attics in older Clarksville homes have as little as 24 to 36 inches of clear working height, flex duct runs are often pinched or kinked by insulation installers, and the duct material itself (older flex duct with degraded outer jacket) can tear from brushing. Attic duct access is why we tell homeowners in town not to attempt attic duct work themselves, even if they’re generally handy. The cleaning ineffectiveness is real, but the heat injury risk is why we put the caveat up front.
If a home’s ducts are in a crawlspace or basement instead, the heat risk changes but the clearance and material risks don’t. The principle holds either way: attics and crawlspaces are professional working environments, not homeowner working environments.
Negative Pressure, HEPA Containment, and Why It Matters
Here’s the part most DIY attempts overlook completely: duct cleaning is a containment job before it’s a cleaning job. The only way to safely move loosened material out of a duct is to put the whole system under negative pressure with a HEPA-filtered vacuum pulling air out at a sealed connection point. That negative pressure is what keeps particles moving toward the filter rather than escaping into the room.
Consumer equipment can’t achieve this. A shop vac exhausts into the room it’s operating in. A rented “duct cleaning kit” typically includes a hose that connects to a shop vac, but the containment is the vac itself, and the vac is not sealed to the duct return. The result is a positive-pressure scenario inside the duct rather than a negative-pressure one – dust gets stirred up and then blows out through every register in the house when the HVAC system runs next.
What professional containment looks like on a typical job:
- Sealed negative-pressure connection at the main trunk or return. The vacuum pulls the entire system into negative pressure before any agitation begins.
- HEPA filtration downstream of the vacuum. Every particle that’s captured stays captured – it doesn’t re-enter the air through the vacuum’s exhaust.
- Powered agitation tools that match the duct profile. Rotobrush and Nikro systems use different heads for flex duct, sheet metal, and trunk lines, so agitation is delivered in a controlled way without damaging or over-scrubbing material that shouldn’t be disturbed.
- Containment setup for suspected mold or heavy contamination. For elevated air-quality scenarios – post-renovation dust, older systems with visible growth, or heavy contamination – additional containment and air-purification equipment is used. We work with Abatement Technologies equipment for those cases, which extends the containment beyond the standard duct setup.
- Before-and-after documentation. Interior camera images and digital photos of the collection filter are how you know the work happened. Ask for them.
All of this is why the physics comparison matters so much. You can’t replicate negative-pressure containment with a consumer kit, no matter how carefully you use it. It’s not a technique question. It’s a system question.
A Decision Framework: Cosmetic vs Performance
Here’s the framework we’d give any Clarksville homeowner asking whether to DIY or call a professional. It comes down to one question: is your problem cosmetic or performance-based?
If your problem is cosmetic
You see dust on the register grilles, and the interior of the house feels dusty faster than you’d like. There’s no airflow complaint, no debris blowing from supply registers, and the HVAC system heats and cools normally. In this case, DIY is fine. Clean the grilles, change the filter, keep furniture away from supply registers, and call it done. You don’t need professional cleaning for a dusty grille face – that’s a maintenance habit, not a system problem.
If your problem is performance-based
You have weak airflow from some vents and not others, visible debris blowing out of a supply register when the system runs, a recent spike in allergy or asthma symptoms that correlates with turning on the HVAC, or a system that hasn’t been cleaned in years and is showing visible contamination inside the return. In any of these scenarios, professional assessment is the first step – before assuming the problem is a cleaning problem at all. Some airflow complaints turn out to be duct repair problems (a crushed or disconnected run), some turn out to be blower or filter problems, and some are legitimately cleaning problems.
A short decision checklist
- Is the concern visible dust on grilles and surfaces? DIY cosmetic cleaning. No service call needed.
- Is the concern airflow, allergens, or debris being blown into rooms? Professional assessment first.
- Is there visible mold or heavy contamination? Professional containment required. Do not attempt DIY.
- Is the ductwork in an attic or crawlspace? Professional. Heat and access risk is real in Clarksville.
- Is there damage to visible duct runs (crushed, disconnected, torn)? That’s a repair assessment, not a cleaning one. Get it looked at.
- Is the dryer vent the concern? The exterior cap lint is DIY; anything past the cap is a professional job.
The framework works because it puts the decision on the actual problem rather than on whether the homeowner is “handy.” A homeowner can be extremely capable and still not solve a performance problem with a shop vac, because the limiting factor is airflow, not competence.
For property managers running multiple units in Clarksville, the same framework applies – cosmetic upkeep per unit DIY, performance assessment on units with complaints. The Duct Cleaning Clarksville team works with both homeowner and light-commercial systems, and the assessment conversation is the same: what’s actually happening inside the system, and what’s the right next step.
When Cleaning Uncovers a Repair Problem
Air duct cleaning regularly exposes problems that were hidden before anyone looked inside. A crushed flex run, a disconnected joint behind a register boot, a torn liner inside a trunk – none of these are visible from outside the duct, and all of them turn a cleaning job into a cleaning plus repair job. That’s the moment where choosing a company that only cleans (and doesn’t repair) becomes a hassle, because you end up scheduling a second contractor to fix what the first one found.
We offer air duct cleaning and air duct repair as one service for exactly this reason. When assessment turns up damage, we can talk through the fix on the same visit and put it into the same written estimate. That saves the second phone call and, more importantly, it means the repair diagnosis comes from the same inspection that found the problem. Knowing how the duct condition affects airflow into a Honeywell or Aprilaire filtration system is part of the same conversation.
For systems that have suffered damage from a DIY attempt – punctured liner, pushed debris, a badly reconnected joint – the repair-first approach matters even more. Cleaning a damaged run just distributes the airflow problem through the house. The repair has to be planned before the clean, not after.
The Dryer Vent Exception: A Safety Story, Not an Airflow Story
Dryer vent cleaning sits a little outside the DIY vs professional framework for duct cleaning, because the failure mode is different. Duct cleaning failures hurt air quality and efficiency. A clogged dryer vent is a fire risk. Lint accumulation reduces airflow through the vent, drives up dryer heat, and creates a fire condition behind the dryer where you can’t see it. The U.S. Fire Administration treats dryer vent cleaning as a safety matter, and that’s why we offer dryer vent cleaning as a standalone service rather than an add-on.
What a homeowner can do on their own here: knock lint off the exterior termination cap, check the flapper swings freely, and clear lint that’s visibly trapped in the cap screen. What a homeowner shouldn’t do: feed a rod through the full vent run to clear a blockage. Vent runs often include elbows and turns where a rod can get stuck or tear the foil liner, and a torn liner becomes a lint trap for the next load. That’s a professional extraction job with the right tooling and containment.
The same is true if the dryer has been taking longer to dry, the exterior flapper doesn’t fully open during a load, or you notice lint escaping into the laundry room around the dryer connection. All three are signs of a restricted vent and all three warrant a professional inspection rather than another quarter-inch of lint knocked off the cap.
Common Mistakes to Avoid
- Renting a “duct cleaning kit” and assuming it’s the same job. The rented kit’s airflow and containment don’t match professional systems, and using it can push debris deeper instead of removing it. In Clarksville homes with attic flex duct, that means a bigger job later.
- Attic duct work in July. Attic heat index in Clarksville can exceed 140°F in summer, and heat injury is a real risk independent of the cleaning. Attic work is a professional environment for a reason.
- Disconnecting duct joints to reach a run. A homeowner reconnected joint leaks more than it looks, and every leak degrades airflow. If a run is inaccessible, that’s the point to call.
- Scrubbing visible mold without containment. Any mold inside a duct requires sealed negative pressure and HEPA filtration. Scrubbing it with a brush distributes spores into the living room.
- Using a shop vac on interior ductwork. The vac exhausts into the room, so what you pull out goes back into the air. This is the single most common mistake we see on post-DIY assessments.
- Ignoring the dryer vent because it’s “just maintenance.” A restricted dryer vent is a fire condition, not a convenience issue. Clear the cap yourself; get the run inspected professionally on a reasonable schedule.
- Waiting for a performance problem to become a repair problem. Weak airflow from one vent that gets worse over time is a signal. Assessment early is cheaper than repair later, and much cheaper than a system replacement.
See the difference
 Before
 After
 Before
 After
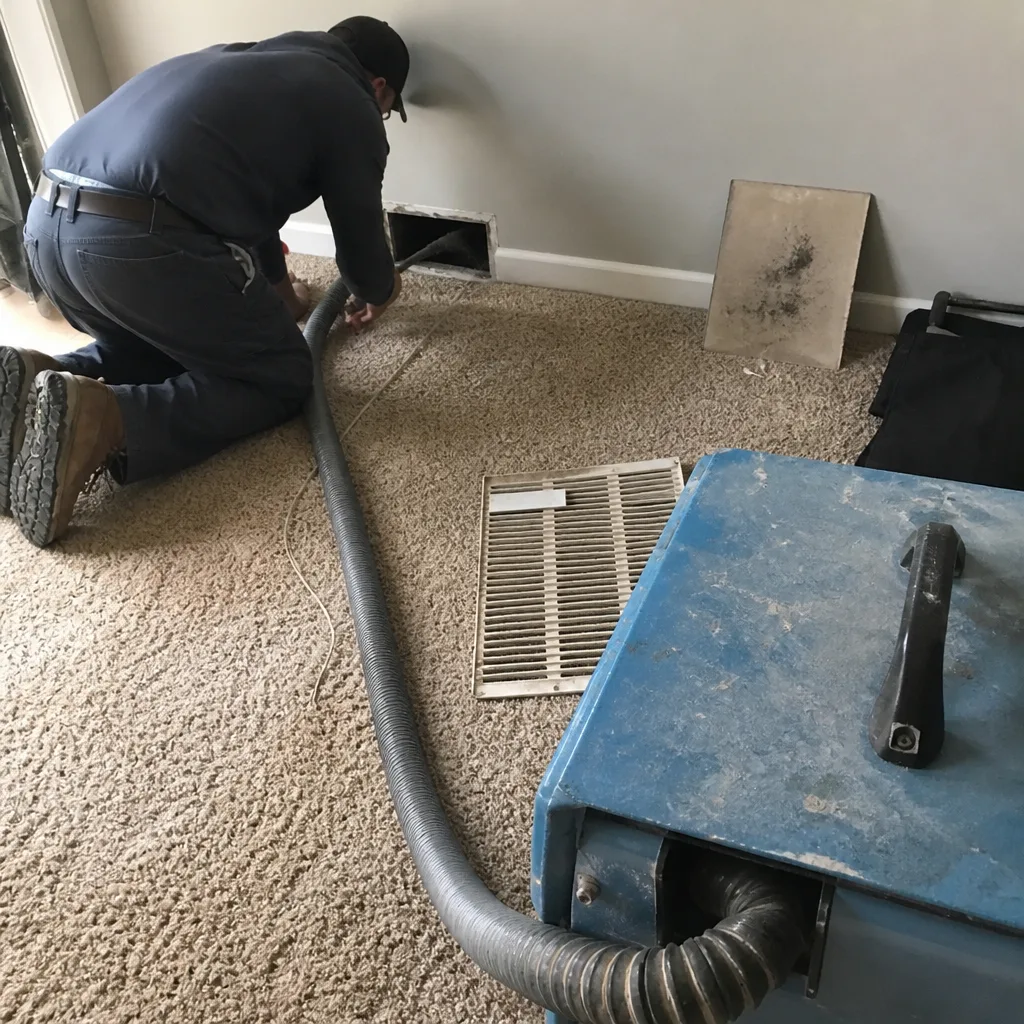 Before
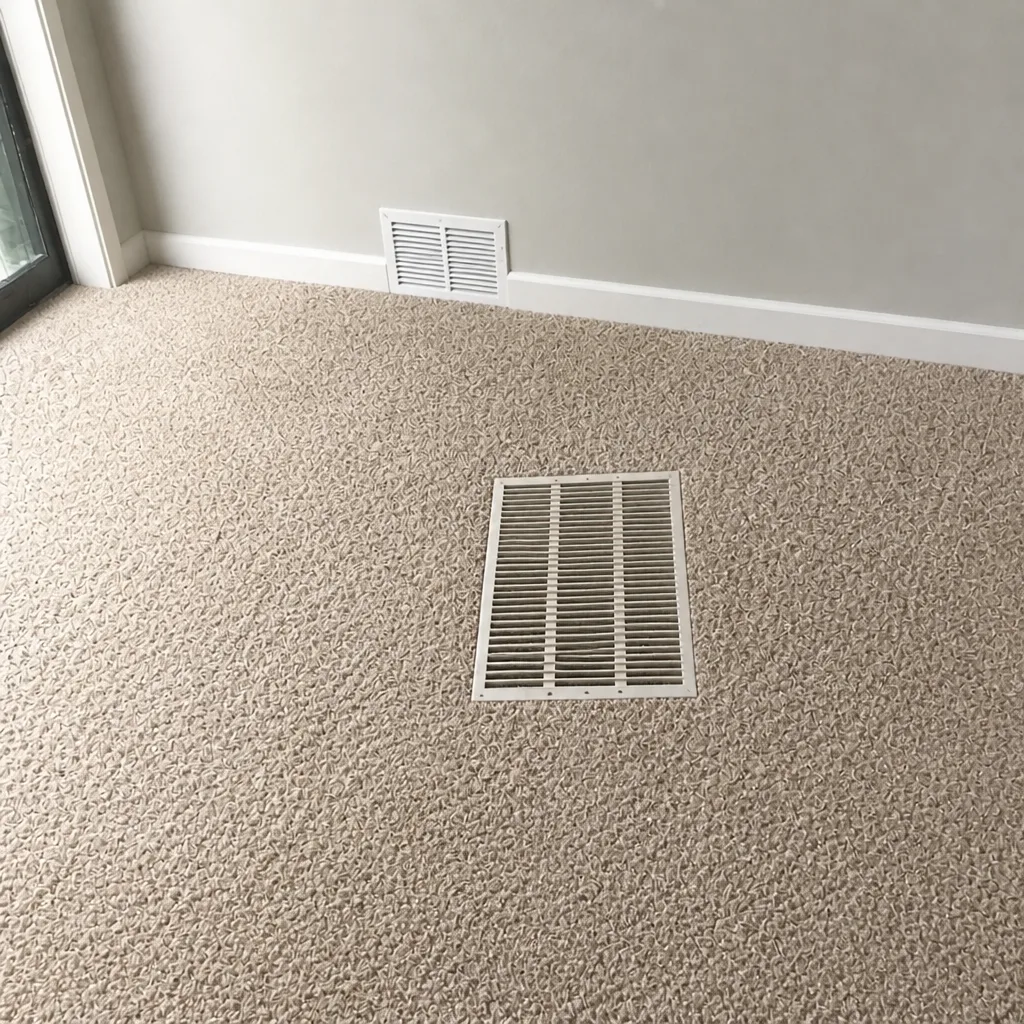 After
When to Call a Professional
Call a professional when the problem is performance-based: airflow that’s weak or uneven across rooms, debris visibly blowing from a supply register, a spike in allergy symptoms indoors, a recent renovation that left drywall dust in the system, suspected mold, or ductwork that hasn’t been cleaned in years. Call when the ducts are in the attic or a crawlspace, because access and heat are risks on their own. Call when a DIY attempt has already happened and you’re not sure what it left behind. And call when a dryer vent is suspect, because that’s a fire safety question, not a cleaning question. Duct Cleaning Clarksville offers free estimates in Clarksville – call (833) 519-7736. The written estimate sets the price, we agree on one flat price per system before any work starts, and you get before-and-after photos of your own ducts so you know what was actually removed.
Frequently Asked Questions
No, a shop vac isn’t designed for interior duct cleaning and using one typically makes things worse. A shop vac exhausts into the room, so dust pulled from inside the duct is blown straight back into your living space, and its airflow is far below what’s needed to move material through a duct run. Professional systems run 4,000 to 6,000 CFM with sealed HEPA containment; a shop vac runs roughly 90 CFM and has no containment. Register grille cleaning and exterior dryer vent cap lint removal are fine to do yourself – interior duct cleaning isn’t. Call (833) 519-7736 for a free estimate if you need the assessment.
Pricing depends on the number of systems, the size of the home, the duct material, and the condition of the ductwork – a system with visible contamination and a crushed flex run costs more to bring back than a system that just needs a maintenance clean. We won’t quote a teaser number by the vent because that’s not how the work is priced. We give one flat price per system, agreed in writing before any work starts, and the written estimate sets the final price. Call (833) 519-7736 – the estimate is free.
Low quotes usually mean a smaller scope than the home needs: a single vent-count clean with consumer-grade equipment, no negative pressure, no containment, and no repair capability. That’s not the same job as a full-system HEPA-extracted clean with powered agitation and interior camera inspection, and the difference shows up either as a bigger invoice later when problems surface or as damage the low-bid crew left behind. Ask any company three questions before booking: what CFM does your vacuum run, do you use HEPA containment, and do you offer repair if cleaning finds a damaged run. If the answers don’t line up, the price isn’t really cheaper.
Ask for before-and-after photos of your own ducts, not stock images. Interior camera shots at the return and trunk, plus a photo of the collection filter before and after, are how you confirm that material was actually removed rather than just stirred. We provide before-and-after photos as part of the service, and the written estimate plus the photo set are the record. If a company can’t show you your own ducts, that’s the signal. Call (833) 519-7736 to schedule an assessment.
Most homes go 3 to 5 years between cleanings, but “typical” isn’t a rule. Households with pets or smokers, homes that have just finished a renovation, homes with a family member who has allergies or asthma, and homes with long-running high dust load all tend toward the shorter end of that range. Homes without those factors can go longer. The right schedule comes from an assessment of your actual system rather than a year on a calendar. Call (833) 519-7736 for a free estimate and we’ll tell you what your system actually needs.
Yes, exterior cap cleaning is safe and worth doing on your own every few months – pull the lint off the flapper and screen, and confirm the flapper swings freely. Anything past the cap is different. Vent runs with elbows can trap a rod, tear a foil liner, or leave a blockage in place, and a clogged vent is a fire risk. If the dryer is taking longer to dry, the exterior flapper doesn’t fully open during a cycle, or lint is escaping around the dryer connection, that’s a professional inspection. Call (833) 519-7736 for a Clarksville dryer vent cleaning estimate – the estimate is free.
The Bottom Line
DIY duct cleaning fails on physics, not on effort. A consumer kit moves around 90 CFM; a professional system moves 4,000 to 6,000 CFM, and no technique bridges that gap. Homeowners should absolutely handle cosmetic upkeep – grille cleaning, filter changes, exterior dryer cap lint – because those are safe, effective, and cheap. But performance-based problems (weak airflow, debris blowing from registers, allergen spikes, post-renovation dust, suspected mold) need professional assessment first. In Clarksville, attic duct access adds a heat injury risk that makes DIY attic work a genuinely bad idea regardless of technique. Our technicians have up to 13 years of experience, and we clean it and fix it – one call covers cleaning, repair, and air quality. Call (833) 519-7736 for a free estimate. We answer 24/7. Fast dispatch from 7am to 7pm, Sunday through Friday. One flat price per system, agreed before work starts, before-and-after photos of your own ducts.
Written by the team at Duct Cleaning Clarksville.